Showing posts with label House. Show all posts

Sunday, December 23, 2012

3D Printing Workflow

So I've been dabbling in 3D Printing this past week after getting my Printxel printer recently. It took me a bit to get things set up correctly. It's not the noob-friendly exercise some folks might have you believe. That said, once you get things working it's pretty amazing. After doing a number of prints of some sample files of varying sophistication, yesterday I did my first from-scratch project. This is an attempt to document the workflow for anyone interested.

We have a series of window screens around the house that suffer from the same broken plastic bracket the joints the aluminum frame pieces. I've been unable to find a replacement so I thought I'd make my own.

First step is to model what you want printed. I used Google's Sketchup, which I'd used before, and is pretty amazing to pick up and play with, even if you have little experience with modeling tools (I spent a lot of time working with Autocad and 3DStudio, but that was ~20 years ago). Sketchup also has really easy to use dimensioning tools, so I could get the model to exactly match what I was measuring on the original with some calipers. Here's a pic of the finished model:


Next step is to export it from Sketchup in .STL format, which can be done via a free plug-in, in order for it to be read by the next step. During output, you specify the format and to keep the dimensions as is in the model (i.e. the above is in millimeters)

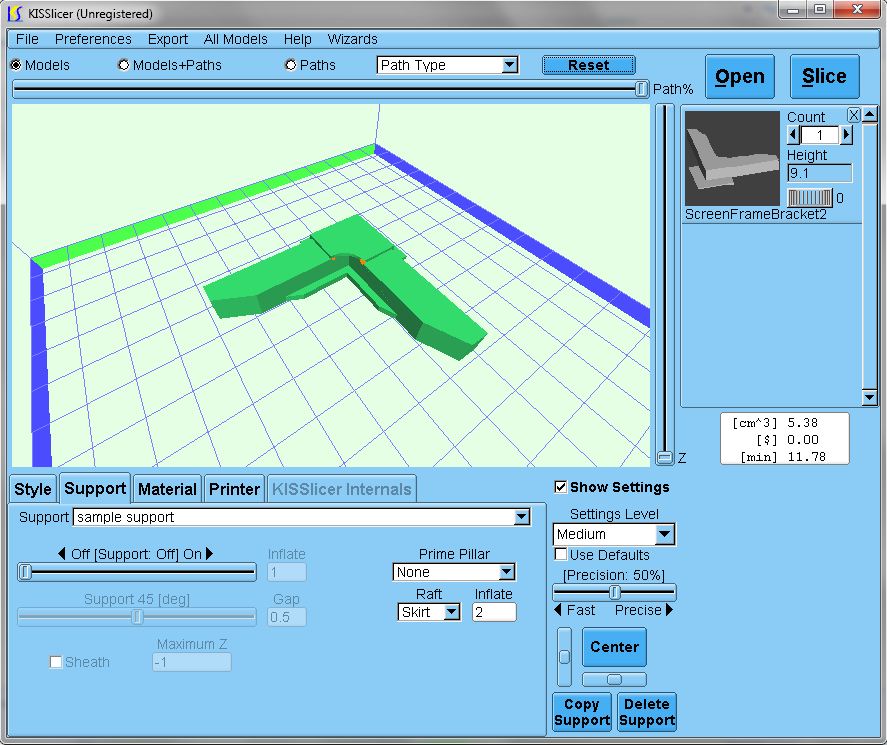
Next, is to import into a program that will 'slice' the model - generate a set of instructions giving the 3D printer path information to construct the model. It's referred to as slicing because the X-Y outlined before the printer moves down in Z, thus doing it in a set of slices. This program does more than just slice the model, it figures out how to fill in the insides of the model to save material, how to build temp supports for overhanging bits, it can build a 'raft' under the model as a starting point, etc. I used KISSlicer. The slicing tool needs to have settings for your particular printer, print material, etc, and these have been set up by Printxel's creator in a bunch of .ini files that are available in the Printxel google group. Here's a pic of the model in KISSlicer.

After using KISSlicer to export the printer instructions as G-Code. I import it into Replicator-G. This is the host software that will control the printer. The screenshot below shows the control panel for heating up the printhead or fine tuning the position of the printer before starting the print. Once it's up to temp, it's ready to go.

Here's short video of it part way through the printing process.


Below is a pic of the finished output next to the original (broken) piece. I didn't have any white PLA material, so I did this one with clear material. I've got some white material on order to run off a number of these.


Below is a pic of the part in place. The patchy looking stuff on the 1mm thick outside trim is some remaining white glue off the print bed. putting down a thin layer of glue helps give the first layer of PLA something to adhere to, while making easy to remove the piece afterward.


I'm pretty happy with how the piece turned out. Beleive its stronger than the original piece, as the original was hollow and mine is filled with a corrugated lattice of PLA material. Not sure whether prolonged sun exposure will weaken the PLA as it does some other plastics. We'll have to wait and see. 

[Update: Thought I'd post a pic of a more recent print now that I have some white PLA. See below]


Monday, November 2, 2009

Playstructure project

Well, it's November, and I've almost wrapped up the 'summer project' play structure. It was a sunny day yesterday so I snapped a couple pics.

An off-the-shelf structure wouldn't work because we were building on an incline and over a retaining wall, so we decided to do something custom. As usual, this led to my getting a bit carried away.

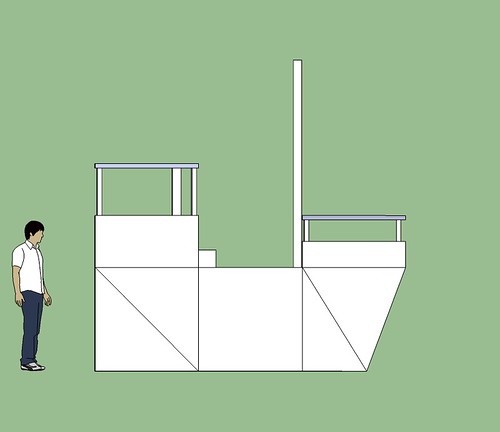
Original rough concept in Sketchup:


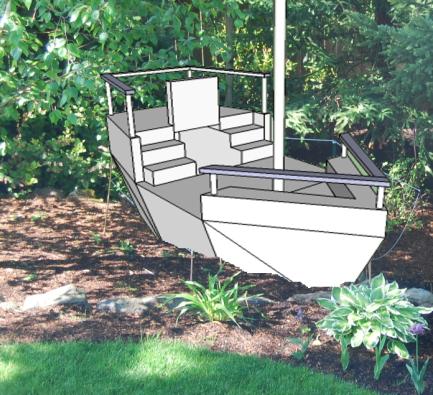
Same, with rough orientation in situ:


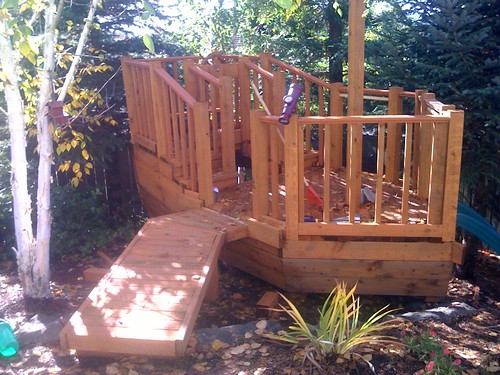
Final product (still need a few pieces of trim, a pirate flag for the mast, etc):


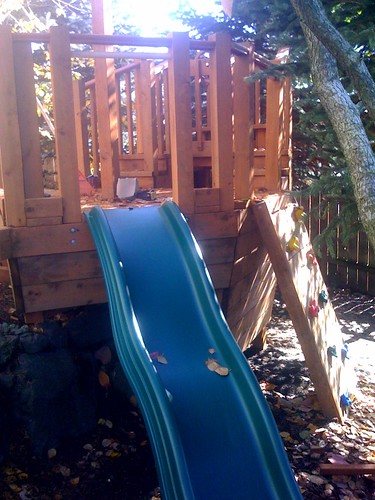
From the downhill side (still needs a few pieces of 'hull' planking), showing slide and climbing wall:


I'll post some more pics after getting the last bits of trim done (hopefully this year!!)

Sunday, November 23, 2008

Twitters from the attic


Alice points us to this neat Botanicalls DIY kit, a kit to build a device to that you sit in your houseplant and it twitters you if it's been overwatered, is in need of water, etc.


Pretty neat, but I could see this having other uses. I could see myself sitting one in the sump pump in the crawlspace, so I get a message on my phone if we have any flooding occurring. Cool.


As an aside, I love that there is so much open source & DIY hackery still alive in hardware. I really should bust out the ol' soldering iron!

Sunday, November 16, 2008

Random thinking on bulbs.

Our house has a lot of light bulbs. Lots of them. Most are recessed halogen floods. They burn out from time to time and they aren't cheap to replace. I hadn't relaced them with CFL's as they are of a particular form factor that is hard (short-necked 50w PAR30's, if you care).

Anyhow, fed up, I decided to bulk purchase them online. Price comparison:

Halogen at Home Depot: ~$9 each; 50w
Same online: ~$5 each; 50w
CFL equivalent online: ~$18 each; 15w draw
LED equivalent online: ~$25 each; 4w draw (but only equivalent to a 30W bulb brightness)

So if I wanted to replace them all (about 50 in the house), there's a $600 delta between CFL's and the regular halogens. On the other hand,at 9c per KW/hr, there's a savings of 16c/hr for every hour we have all the lights on, or maybe something like 5c/hr averaged over the course of a day, or $1.20/day. Call it $1 a day. So they pay for themselves in 2yrs or so.

Of course, they pay for themselves more quickly if used in high-usage lights, so that's where I'm going to start, having ordered less than a dozen of them. Will start with the kitchen and house entry and we'll see from there.

The LEDs should be an even bigger savings, but I'm a little worried the ones I found are too dim. Will look for some brighter ones and maybe try those out.

Friday, April 11, 2008

How the Allies won the war

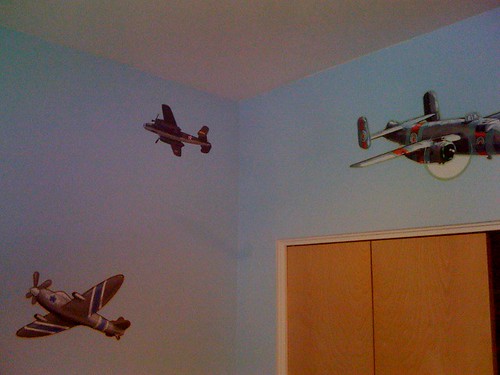
We decorated the kids' rooms in the new house.

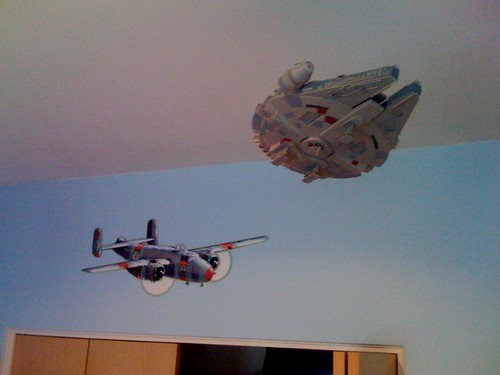
The boys are sharing a room and we put up some stickers of WWII-era planes. As part of that, Tom and I went to the hobby shop to pick out some models to put together and hang from the ceiling. I told Tom to pick some out that were similar to those in the stickers we put up. He did a pretty good job as you can see from the bomber below.


He also is a pretty good history buff for a four year old. He was aware of the little-known secret weapon that garnered the Allies a real advantage over the Germans: The Millennium Falcon!

What was I going to do? Turn down a chance to work on the Millennium Falcon with my kid? C'mon!

Friday, March 21, 2008

We've Moved

We did our move this week. Exhausted, and still half living out of boxes, but we are in the new place:

Saturday, December 1, 2007

Our House in Bellevue is For Sale


Our house got listed. Or see it on Zillow here.

If you know anyone looking for a lovely home in the area, point them this way.

We really do love the house and wish we weren't leaving it, but alas, 'tis not a mobile home and we are relocating.

Good geek home too. X10 lighting, media room, wired speakers all over the ouse. Includes many hundreds of feet of hardwired gigabit ethernet cable, fished with care by yours truly!